Easy DIY Tree Branch Stars
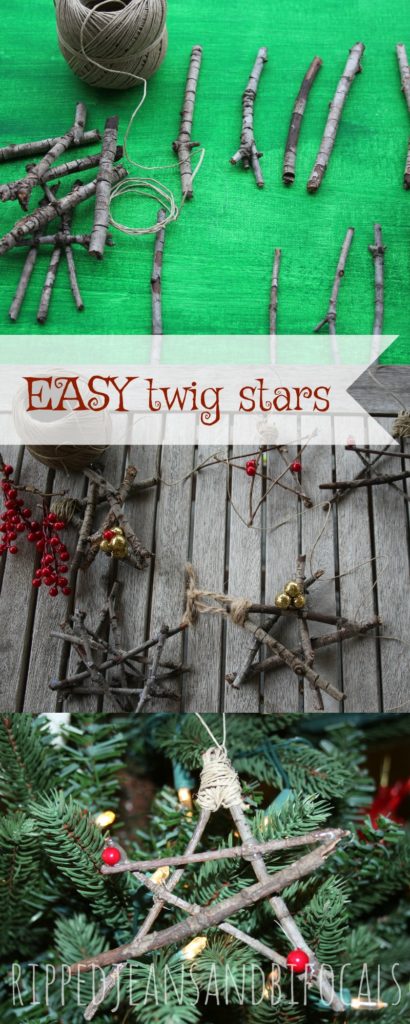
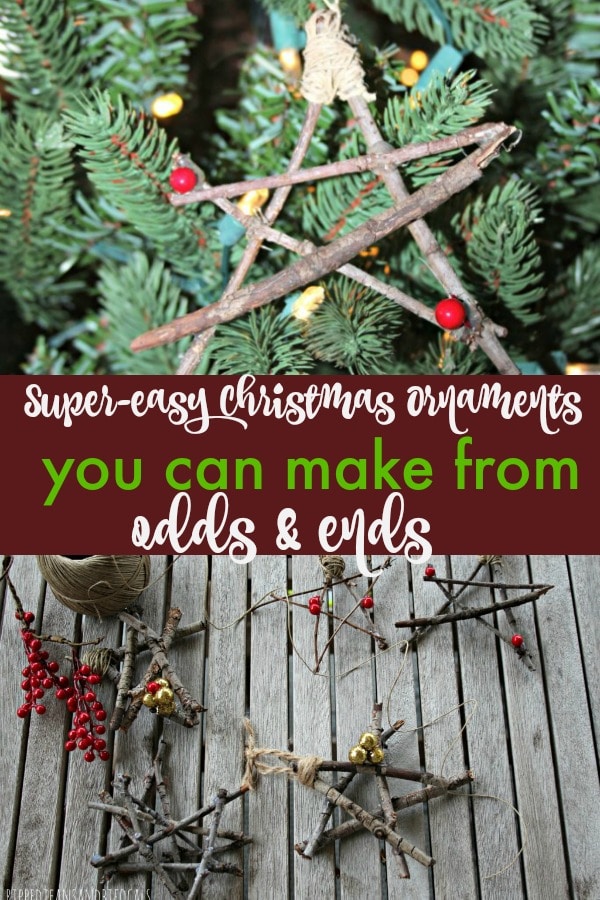
If you're looking for an easy (yes, really easy) craft to do with your kids this year, try these tree branch stars. They're fun, and inexpensive, and did I already say easy?
There’s just something about Christmas that makes you want to haul out your craft supplies, gather your children around the table (wearing their adorable artist’s smocks, of course), and bond with them while making handmade crafts that will turn out so adorable that you’ll want to give them to everyone as gifts. Just kidding. These easy DIY tree branch stars are probably more your speed. Tree Branch Stars
Easy DIY Tree Branch Stars
My kids love to craft and create. When selecting crafts for kids, I look for easy. I need easy. My kids might be into all this but me? I’m a little challenged when it comes to DIY. I consider it a win if nobody glues their fingers to the table.
Here is a fun Christmas craft you can do with your kids this season. The supply list is simple you probably already have everything you need on hand…if not, they are easy to order and don't cost much.
Supply List
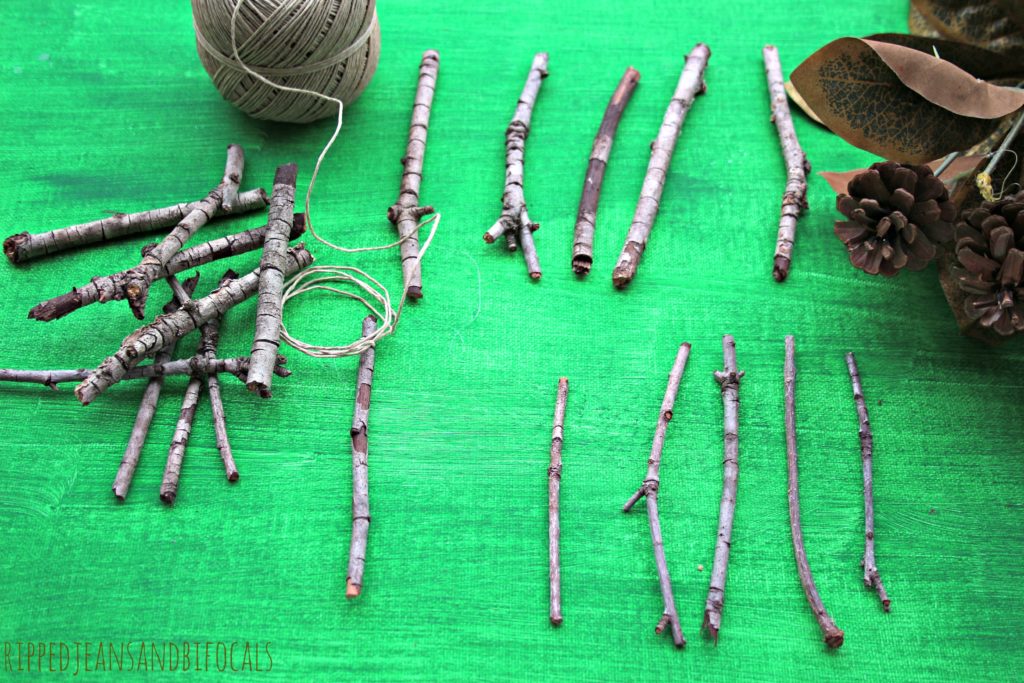
- Small twigs or sticks (5 for each star you want to make)
- Decorative berries, leaves, sequins, or other embellishments
- Glue
- Twine
I usually use hot glue (I like this hot glue gun for working with kids) but you can use Gorilla Glue or whatever type of adhesive you prefer. You can use Elmer’s Glue All but you'll need to let them dry at least overnight. Don't use the school glue – it isn't strong enough to hold all this together.
This is a great Christmas craft idea to do with your kids after a hike or a walk. My kids love to collect twigs, leaves, and acorns and these stars are a fun way to use them…just make sure your twigs are dry and not green and bendy (i.e. freshly picked off the tree.)
Dry sticks or twigs are much easier to work with. Also, check to make sure anything you bring in from outside is free of bugs or mold. Crafting is awesome but ants, worms, or other uninvited guests are a DRAG.
You can use whatever length you like but you may need to cut the twigs to make sure the five points of your star are of uniform length.
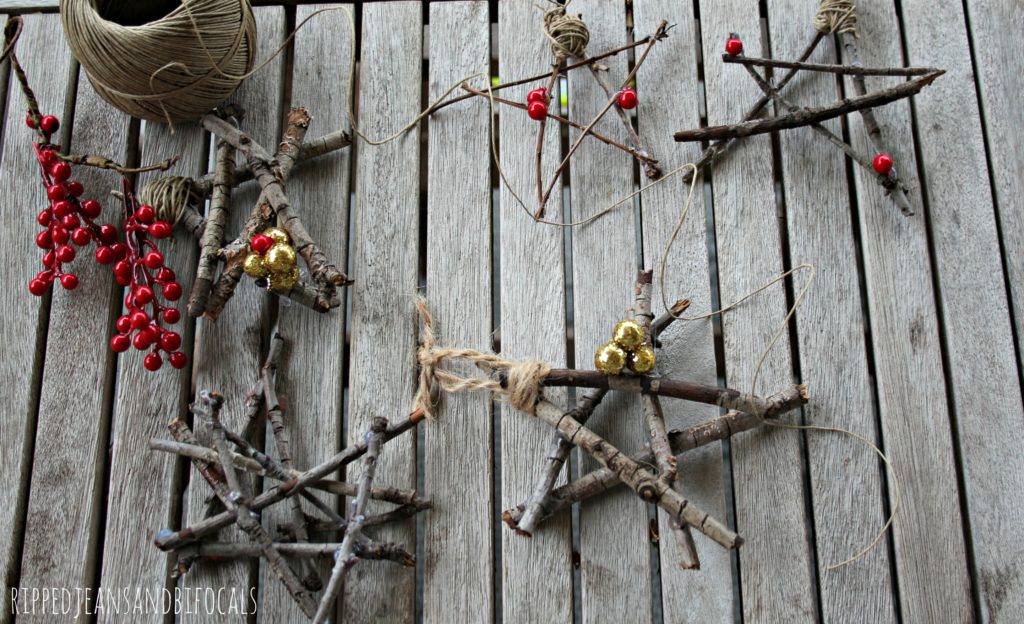
Simply glue them together and decorate as you like.
We used little red and gold beads to decorate our stars. You can “harvest” these items from old centerpieces, floral supplies or broken Christmas ornaments or jewelry. My local thrift store usually sells bundles of various Christmas floral crafty-type supplies for next to nothing. I grab them when I see them and keep them in my Christmas craft stash.
You could also paint your stars or sprinkle them with glitter but I like the rustic look of the natural wood AKA I don't want to clean up any more glitter than I have to.
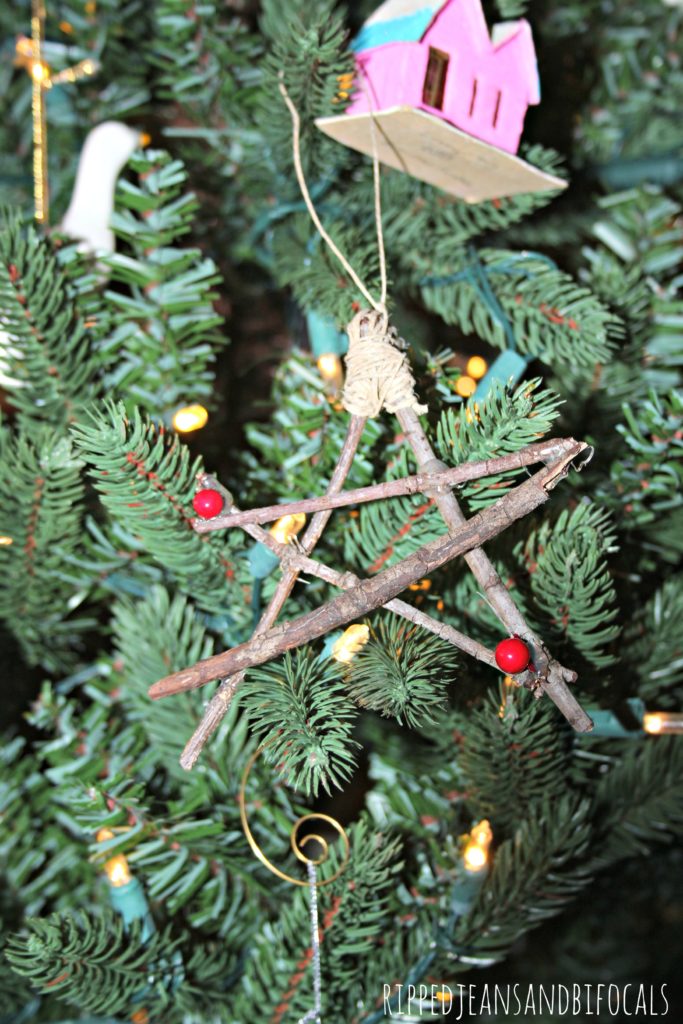
You can glue these to jars, cans, or bottles to make a cute DIY vase or centerpiece. You can cut a length of twine and string them. These are great to hang on a tree or used to decorate a package.
Making stuff with your kids is fun. Making memories with your kids is priceless. Enjoy this fun little project or find something else that will allow you to spend time with your family and flex your creativity.
Grab your craft supplies, crank up the Christmas music, sit down with your kids, and have some fun. Your creations won’t be perfect. Your stars might be lopsided. You might be sweeping up glitter for the next six months.
And that’s okay.
For more ideas, check out my Christmas hub.
Thank you for reading!





These are now on the plan for Wednesday’s crafting activity! I love bringing nature inside and we’ll probably hang these in front of the window.
Thanks for the great DIY star ornament!
Hi Jill!
These DYI star ornaments are great! Gives a country/woodsy vibe to your tree.
I was very happy to find this internet-site.I needed to thanks on your time for this wonderful read!! I positively enjoying each little little bit of it and I’ve you bookmarked to check out new stuff you blog post.